How to tint the face of a knitted toy. Teddy bear toy. How to tint a soft toy. Master Class. For work we need
In my method, I combined several techniques tinting coffee toys, and it turned out to be an option that, it seems to me, is the most optimal for a beginner. The tinting turns out even, the seams are clean.
For tinting toys with a coffee mixture with PVA You will need:
- objects for tinting,
- instant coffee (the cheapest, granulated or powder - it doesn’t matter),
- warm water,
- PVA glue,
- ground cinnamon (optional)
- synthetic flat wide brush (many people use a foam sponge to tint, but somehow I didn’t have any luck with it),
- old waffle towel.
First, let's prepare tint mixture for textile (coffee) toys: ground coffee, water and PVA glue.
Put 1-2 full tablespoons of instant coffee into a cup (granulated - you can use 1.5-2 at once, powder - start with 1 spoon, as it gives a richer shade, you can always add more if desired), add a little cinnamon. Here we proceed from our preferences, I love the smell of cinnamon, so I put almost a third of a teaspoon.
Fill it all with about 50 ml of warm water and mix well. I did a little more, so I increased the dosage exactly 2 times.
Add 1 full tablespoon of PVA to 50 ml of water and mix thoroughly until smooth. The more PVA glue there is, the stiffer and “woodier” the fabric will be after drying. 1 tablespoon is quite enough, the toys are moderately hard and this amount is enough to subsequently apply paint to the fabric.

Vanilla is not added to the solution, otherwise crystals will be visible on the fabric. We add it either at the stage of stuffing the toy inside, or slightly lubricate the back of the finished product.
Lightly dip the brush into the solution, press it against the edge, and from the middle of the toy we begin to tint the fabric, moving in the direction of the seam. This way we will have an almost dry brush on the seam, because if the seam gets too wet, streaks will remain.


And the other side...
To control after tinting, I always immediately blot the toy with a waffle towel; it will absorb excess solution, if any.

Many people dry toys in the microwave, but I didn’t like this option; it happened that unwanted spots remained, so I dry them the natural way: I expose the entire batch to radiators. It is very convenient, since the coffee pots touch slightly with their legs and slightly with their ears on top. And in winter there’s another plus: they dry faster. 🙂

Like this…

I’ll show you the most “treacherous” places as an example, it turned out quite neatly.

We color the finished toy acrylic paints on fabric.
The seams, if desired, can be tinted. There are also some nuances here.
I also tint with a flat synthetic brush, which I first rub dry on a sheet of paper.


This is the result...
Larger...
Attention: coffee toys cannot be washed or handled with wet hands!!!
I was glad to help!
Tinting Teddy bears is a process of “revitalizing” a toy, which emphasizes its character and makes it expressive. appearance and puts an end to the creation of the intended image.
Master teddyist Natalya, who creates under the nickname NatalKa Creations, will share her experience with us in this regard.
For 2 years now I have been diligently making teddy bears, and for more than 3 years I have experience in creating designer textile toys (in the beginning there were dolls).
If you are interested in the process of creating teddy bears, you may be interested in knowing what colors I use to tint the teddy bears and their friends.
So, what colors can you use? tinting teddy bears and their friends.
Markers (airbrush or artistic)— markers are applied to the pile or fabric and shaded. I have experience working with Faber-Castell art markers, but I use them mainly as auxiliary tinting - to slightly correct the rim of the nose, enhance the color of the eyelids, etc.
Dry pastel- pastel is applied to the pile with a brush, it fits well on light surfaces, but is difficult on dark ones. Gives excellent transitions. Big minus: if you accidentally touch a place that is not intended for tinting, it will be very difficult to remove the pastel. In my opinion, pastels are more suitable for teddy bears made from regular fabric rather than mohair, as well as for felted toys.
Acrylic paints (art or textile)— applied to a fleecy surface or fabric, does not blend very well, and dries quickly, which I consider a disadvantage. I do not recommend using them for beginners. I only use acrylic paints to paint glass eyes.
Oil paints (art)— my favorite and main type of tinting, I recommend it to everyone! The method of application is different for each artist: some apply with a dry brush, others dilute the paint a little with pinene or linseed oil (the main thing is not to overdo it so that the pile does not stick together). With oil paints you will never do anything wrong; they are easily removed (within reasonable limits: with white fur it will be difficult to remove black paint) with solvent or oil, they provide excellent transitions and shadows. If you overdo it with linseed oil, you can wipe everything off with a napkin. One small drawback: the oil takes a long time to dry, your work will “ripen” for a day or two.

Eyeshadow (cosmetics)— I haven’t used it myself and don’t recommend it to anyone, but there is such a method of tinting. This is, so to speak, not the best alternative to dry pastels. If you want to make original collectible bears, then the quality of your works must be at a high level. If the teddy is for yourself, why not try this method?)
Attention! Practice on pieces (residues) and wipe the brush well.
This master class will show you how to design a toy's face using dry pastels. It is more likely for beginners in felting, but it may also come in handy for more experienced toy makers.
First, let's talk about what materials and tools should be used for tinting with pastels so that the result does not disappoint us. And I’ll tell you which ones I use.
The first thing we need to create “makeup” is pastel. What should it be like?
First of all, the pastel should be dry, do not confuse it with oil pastels;
The pastel must be very soft in order to be rubbed into the fur well and shaded;
It is worth choosing pastels of more natural shades, then the tinting of the toy will look more natural and lively.
This photo shows the pastel that I am currently using.

We will also need brushes for tinting. Which brushes are better to choose?
First of all, the brushes must be the right size. A brush that is too wide can ruin the tinting; a brush that is too thin will not work either - it will be difficult to rub the pastel into the fur. I would recommend brush number 1 - thin enough to get where we want, but not too thin to apply the color well;
The brush should be quite elastic, not soft (unless you want to use pastel as blush, then a soft brush will do just fine);
It will be better if the bristles of the brush are short, this will make it easier to control the movement of the brush and apply the pastel.
I can’t say whether it’s better to use a natural or synthetic brush; here everyone chooses for themselves what is more convenient for them. I like natural brushes, I use column number 1, there will be a photo with this brush next. Makeup brushes are very good for tinting.
Now directly to the master class on smile tinting.
For work we will need:
- dry pastel;
- brush;
- palette (this can be anything on which you can mix pastels);
- and the muzzle on which we will practice. In my case, this is the face of the albino mouse Lukoshka.

Step 1. Using scissors or a knife, cut the required amount of pastel onto the palette. Since my mouse is an albino, I tint him in several shades Pink colour, in the photo you can see three shades: light pink, dark pink and something in between. Don't pay attention to the brown pastel, we won't need it here.

Mix light pink pastel with dark pink to create the shade we need. I do this to tone down the dark pink color a little and create another additional shade.

Step 2. We collect the color obtained as a result of mixing in a small amount onto a brush and apply it to the center and corners of the mouth. This way we highlight these areas, making them brighter and more noticeable. Please note that dry pastel is very tricky - if you tint the wrong place, it will be very difficult to erase it, it lies so firmly on the wool.

Step 3. Apply light pink pastel to the space between the center and corners of the mouth on both sides. We don't need these places to stand out, the emphasis should be on the corners of the mouth and its central part.

Step 4. Apply dark pink pastel to the area between the mouse's mouth and nose.

Step 5. We put a little pink pastel on the brush and gently rub it into the area above the corners of the mouth, thereby further emphasizing these places. Apply dark pink pastel to the area between the mouse's mouth and nose.

We enjoy the result.


As you can see, using several shades of pastels and accents in the right places will transform your smile from pale to expressive in just 5 minutes.
I hope my little master class will be useful to you. And finally, our experimental mouse in full war paint.

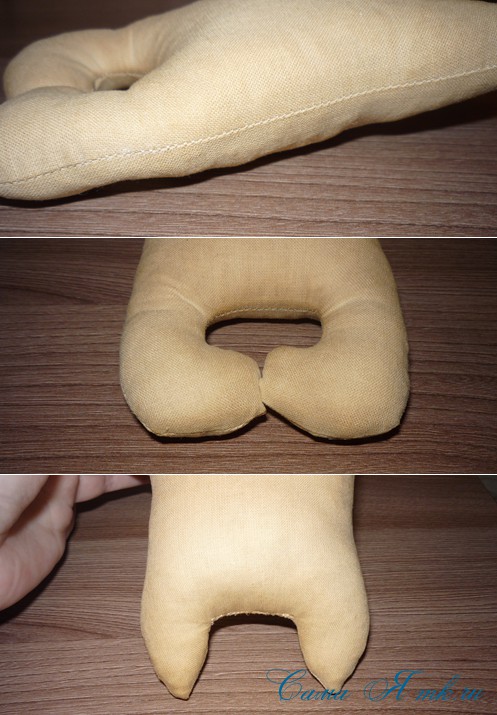
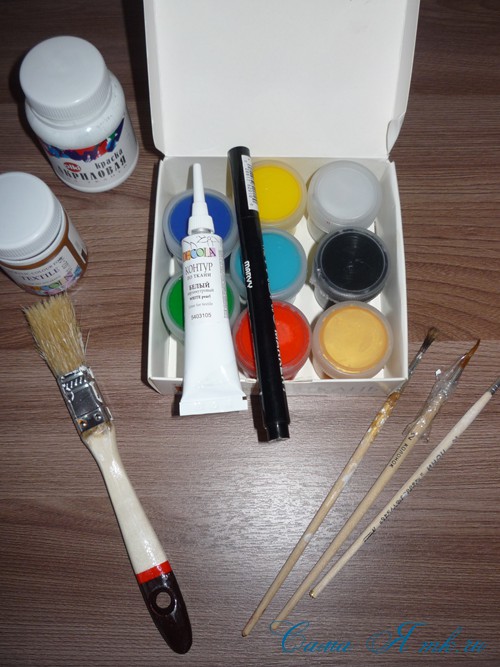
When you sew soft toy with your own hands, there always comes a time when the face of a toy needs to be revived. Make the nose a little darker, highlight the area of the eyes and mouth. It's not difficult to do this. Today I will share with you my experience of tinting using the example of a Teddy bear toy. We will need:
- head of a soft toy;
- oil paints;
- flat brushes;
- a sheet of white paper;
- cotton pad or cloth.

Load the brush with the main color, in this case brown, and “paint” with the brush on the paper until the color almost disappears. Now the brush will leave a barely noticeable haze.

We start tinting from the nose of the toy, from the darkest place and directly around the nose. Rub the paint into the fabric. First around the nose, then in the form of a halo, moving to the bridge of the nose. Notice that the color becomes lighter and lighter and a gradient effect appears.

Now we will do the same with those places where the eyes will be. We stretch the color from the center outward. Next, let's make accents. For this we need darker paint. I took the black one. We again carry out the same procedure of drawing on paper.

Very carefully darken the areas around the nose (especially at the top) and in the center of the eye. Do you see how the bear's face is becoming more and more realistic?

Now let's start shading. Take a second brush with longer bristles and use it to blend the border between the main color and the accent color so that the transition is not visible. Compare two photos: top and bottom.

That's all! The head of our Teddy bear toy is ready. The oil will finally dry out after 2-3 days and become slightly lighter. After this, all you have to do is add eyes and your bear will look like it’s alive.
How to tint toys?A very useful article for those who make toys.
Who are we making a toy for?
This is the first question you need to ask yourself when choosing a tint.
If this is a baby, then it is better to completely eliminate tinting. After all, he tries everything “by tooth” and will definitely drag it into his mouth.
If the child is older, you can use acrylic paint for fabric.
If it is for a collection or an interior toy, then use colored pencils, eye shadow or oil paint.
So, let's begin..
What parts of the toy do we tint?
Tinting makes the toy unique. Gives it realism. Therefore, individual parts are tinted.
First of all, this is the area around the nose and eyes. Ears. Cheeks. Sometimes arms and legs. Belly and tail. Even animal clothes.
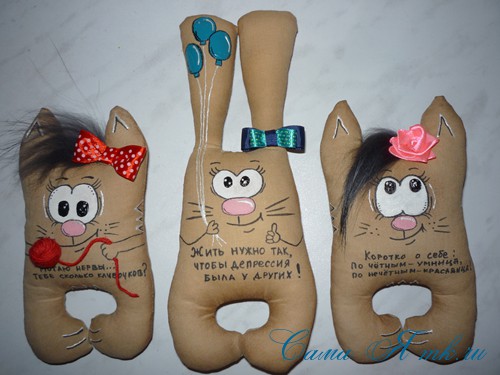
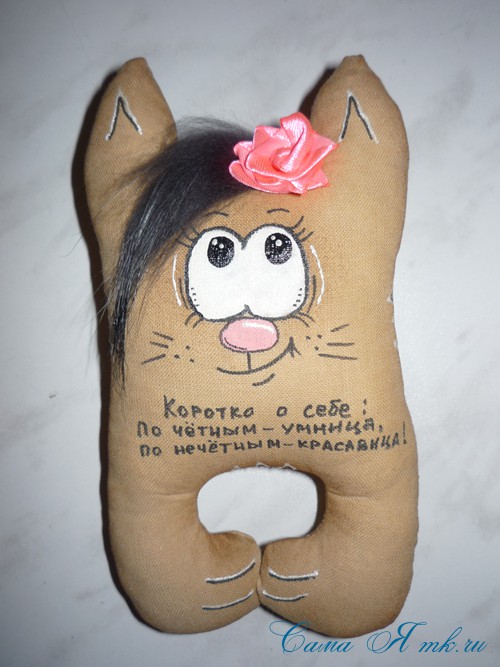
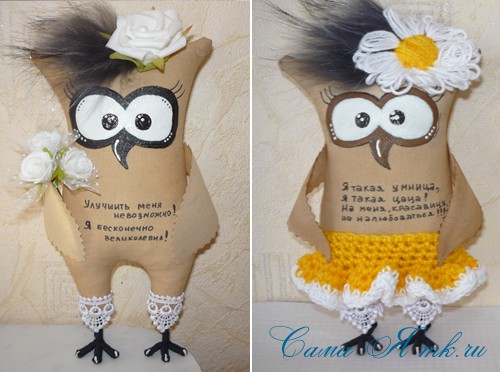
Here are a few examples I found on the Internet:


We tint the area under the eyes from the center to the edges. Also with a spout. Ears and heels along the seam.
In general, you can tint everything, the main thing is not to overdo it.
Harmonious tinting completes the look of the toy. Makes it complete.
Toning with acrylic paints for fabric.
First, knit a sample from the threads from which the toy is made. And experiment with it.
Lightly dilute the paint with water. If you dilute it too much, the water will be absorbed; if you dilute it too little, it will be difficult to apply the paint beautifully and evenly to the toy.
And carefully apply it in those places where it is necessary to tint.
Apply blush on the cheeks or light, dim stripes with the very tip of the brush, lightly moistening it with water. For fluffy toys, lightly smooth the strands with a damp brush.
It is better to choose a non-natural brush and wash off the acrylic immediately; this will be more difficult to do later. Take dishes that you don’t need so that you don’t even feel sorry for throwing them away.
Toning with shadows.
That's very beautiful. It is easy to create both transparency and bright spots.
Can be applied cotton swab or a cotton pad. Or even just a finger.
Shadows fall easily. The only negative is that the shadows fall off. And quite quickly.
Toning with colored pencils.
Long lasting than shadows.
It is best to use soft artist pencils. We paint a toy. Adjust the brightness by pressing on the pencil.
Toning with oil paints(drawing with a dry brush).
We select the color to match the color of the toy:
Light brown to beige and pastel colored toys,
Dark brown for brighter colors,
Black to white or gray toys.
Having decided on a color, take a little paint and smear it on a sheet of cardboard. Let it dry for half an hour. The paper will absorb excess oil and the toy will not shine in tinted areas. None greasy stains we do not need.

And we begin.
First: tinting is done in daylight (in electric light it turns out 1-2 shades darker).
Second: tinting is done before installing the spout and eyes.
First, let’s “draw” on paper.

When the color almost disappears, we move on to the toy.
Move the brush from the center to the edges. The darkest part is under the eyes. Or under the nose.
As with acrylic, practice on a sample first. Because if acrylic is difficult to wash off, then oil is even more difficult.
Then we make an accent: with darker (or black) paint we darken it pointwise around the nose and in the center of the eye.
The last point is shading. Using a clean brush, easily move over the tint so that the border between the base and the accent disappears.
If suddenly an embarrassment occurs and an extra stain appears, then you can (while it is fresh) remove it by monotonously moving a cotton swab dipped in linseed oil over it.
When the paint is dry, you can sew on the eyes and nose. The toy will finally dry out in 2-3 days, and completely dry in 2 weeks.
A nuance: oil paint becomes lighter when it dries. Therefore, either tint a little darker, or “touch up” the makeup after drying.
Coffee toning.
The recipe is simple:
1 tablespoon coffee
1-2 grams of vanillin
1 teaspoon cinnamon (for viscosity)
Pour boiling water over, mix well.
Apply with a brush and dry in the oven.
Based on materials from amigurumi.su