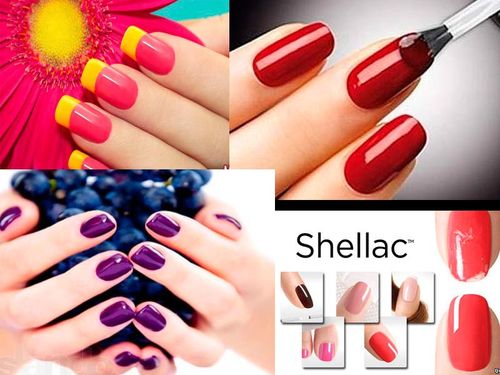
How to make shellac: step by step instructions
Today, such a decorative coating for nails, like shellac, is very popular. And this is not surprising, because in comparison with the classic varnish, it is of higher quality, resistant and gentle. To translate into reality a flawless manicure using such a tool, it is not necessary to visit a specialized salon. The recommendations below will explain in detail how to make shellac at home quickly and efficiently.
What tools are required to work with such a gel?
To apply shellac at home correctly, you will need to take care of purchasing the following tools and devices in advance:
- A special cream that softens cuticles. It will allow you to prepare the nail plate for applying shellac gel, which will make the result more accurate.
- Wood stick for gentle and safe cuticle removal.
- A special soft file that will gently polish the surface of the nail.
- The base composition for shellac coating.
- Gel shellac of the required shades.
- The top composition is shellac, which is applied over the decorative layer.
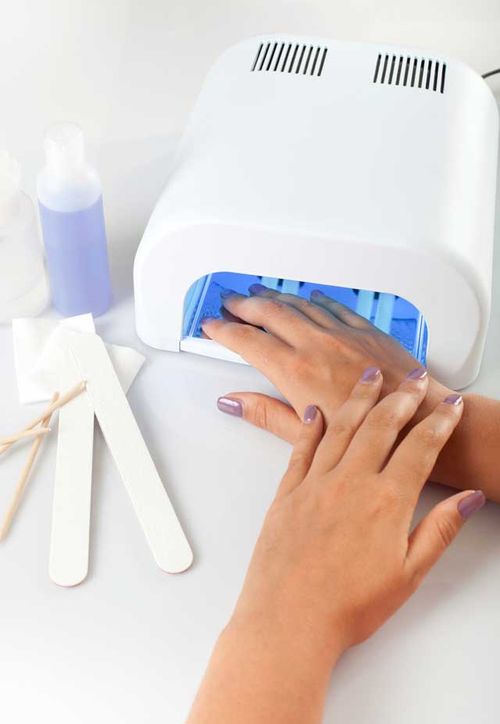
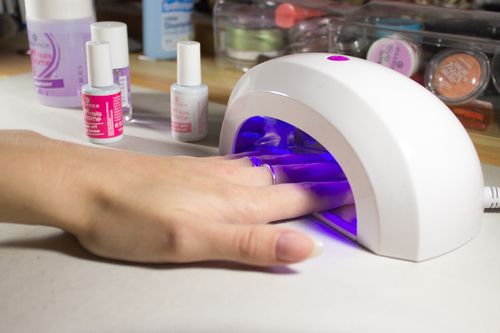
- A special UV lamp that will allow the gel to harden much faster and better.
Thanks to all these devices, you can make shellac at home without any preparation and additional skills.
The process of applying such a coating: the main secrets and recommendations
To understand whether to make shellac yourself at home, you first need to learn in more detail about all the features of such a procedure.
Before directly applying the composition of shellac, you will need to perform the following preparatory procedures:
- Carefully remove the cuticle with a stick made of plastic or wood, and also give the nail plate the desired length and shape, using a nail file for this purpose.
- The surface of each nail is polished with a nail file so that the shellac gel can lie more evenly and neatly.
- All nails and fingertips will need to be treated with any antibacterial composition.
- Before applying a resistant gel, as shown in the photo, you will need to degrease the surface of the nails with alcohol, waiting for it to dry completely. If there is no alcohol at home, then you can simply wash your hands with soap.
After all the preparatory procedures have been completed, it will be possible to proceed to the direct shellac manicure. Step-by-step instructions for its correct application at home are as follows:
- The pre-prepared surface of the nails will first need to be covered with the base composition of shellac. The layer must be thin. Next, the nails will need to be kept under a UV lamp for several minutes. Each subsequent layer of shellac should also be dried for 2 minutes under such an aggregate. The sticky layer remaining after such manipulations should not be eliminated.
- The best solution for making shellac at home is a lamp with a power of 36 watts. Such a device is especially convenient in that it makes it possible to dry all the nails at the same time. You can also use a 9 W model, but it will not allow you to dry all nails at the same time.
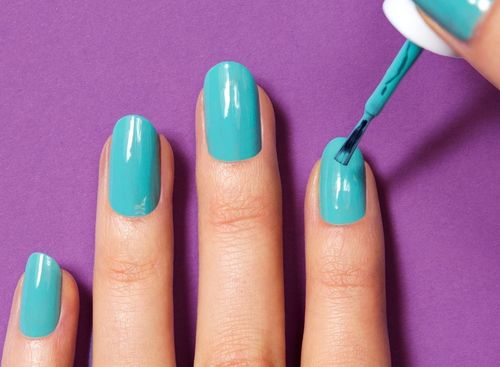
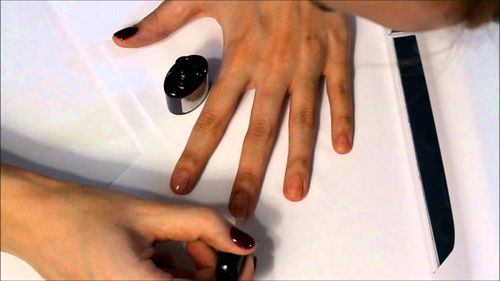
- After the base layer has dried, it will be possible to proceed to the application of a decorative shellac. Experts recommend applying it in several layers. At the same time, do not forget about drying each of the layers for 2 minutes. Shellac can be used for a monochromatic manicure or a more sophisticated jacket.
- After the color coating, it will be possible to proceed to the final stage - applying the finishing composition. The layer of such a tool will have the greatest thickness, while it should be put very carefully, without any streaks. Next, the brush is squeezed out, it will need to additionally smear the entire free edge of the nail plate. The final layer should cover the entire decorative gel.
- The final layer will also need to dry for about 2 minutes. It is required to ensure that the finishing composition does not get on the skin of the fingers and cuticles, as this may affect the integrity of the entire coating. At the end of the procedure, a lint-free cloth will need to be moistened with isopropyl alcohol and very carefully remove the sticky layer of the fixer.
- As soon as all the manipulations for applying shellac are completed, the cuticles will need to be covered with nourishing oil and a delicate massage of the skin located near the nails should be done.

A similar step-by-step instruction for using shellac, displayed in more detail on the video, will allow you to make a flawless manicure at home without much effort.
What nuances are also worth knowing when using the gel?
The video shows how to make shellac in more detail, but this is not enough to get a really attractive and neat result. You will also need to take into account the following recommendations of experts:
- The coating will not peel off if each of the components is applied in a thin layer.
- You should not forget about the processing of the cuticle, since when shellac gets on it, the shellac will begin to exfoliate much faster.
- It is worth purchasing only original formulations from trusted manufacturers, so that the result is of high quality.
- The last finishing composition should be applied in a thicker layer to ensure better durability of the entire manicure.
- To soften the cuticle, it is best to use a cream that contains fruit acids. In the presence of an alkaline base, the surface of the nails will need to be further degreased.
Before you properly make shellac at home, you will also need to view photos that display original ideas for manicure. This will allow you to create more unusual and attractive designs.