The first shellac lessons for beginners: recommendations from the masters
The art of manicure continues to gain popularity. The most popular in the XXI century was a manicure called shellac. But the author's application of this style is not the cheapest pleasure, if we talk about professional skill. And, of course, every girl dreams of having a bright and stylish shellac coating, without constantly going to salons and without spending fabulous sums from the family budget.
Shellac manicure lessons for beginners not only teach how to perform a fashionable manicure, but also show all the aesthetic charm and high functional qualities of shellac.
Navigation:
Why choose shellac
Women have long appreciated the durability and dazzling beauty of shellac coating: it does not require “repair” and repainting for at least 2 weeks. For this period, the resistant gel, applied in stages using a unique technology, is not afraid of scratches and chips. Such a prospect, of course, pleases working and traveling women, who just need to take lessons in the skill of applying shellac, learn how to make an exclusive manicure on their own and enjoy it for half a month.
How to do it right, you can find out by watching video tutorials for beginners on coating nails with shellac. All that the fair sex needs is to carefully review the lessons and follow the recommendations of experts step by step. But first you need to stock up on full equipment for self-application of shellac.
What needs to be prepared?
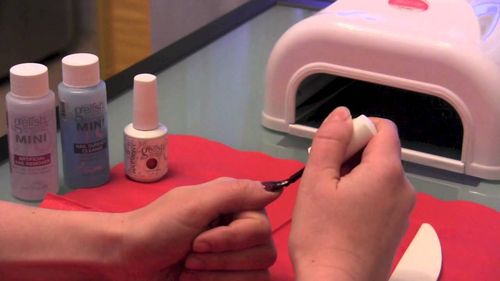
For shellac manicure you will need:
- LED or UV lamp, ideally with a power of 36 watts, to speed up the drying of the nail coating;
- a cuticle remover and an oil that softens it;
- manicure set, including a rough polisher and softer files;
- a degreaser created specifically for shellac, alcoholized ordinary lint-free wipes;
- base gel and shellac color coating;
It is not worth saving for beginners by purchasing manicure materials. Each item on this list will bring you closer to creating amazing nail designs at a professional level.
How to prepare nails
Having collected all the paraphernalia necessary for manicure, you can fully delve into the video tutorial of shellac manicure for beginners. After viewing, every fashionista will undoubtedly be able to repeat step by step the entire technology of applying a stylish gel. It begins, as a rule, with preparatory procedures, which are given special attention in the first lessons.
Nail preparation for coating:
- After a standard herbal bath, cuticles should be removed. If it is barely noticeable, it is not worth trimming it. It is enough to soften with oil and move it to the base of the nail with an orange stick.
- With a file, you need to give the nails the desired shape, and then step by step process the nail plate: first with a cotton pad from dust after grinding, then with a degreaser or an alcohol wipe. Experts recommend that beginners dry their nails under a UV lamp already at this stage.
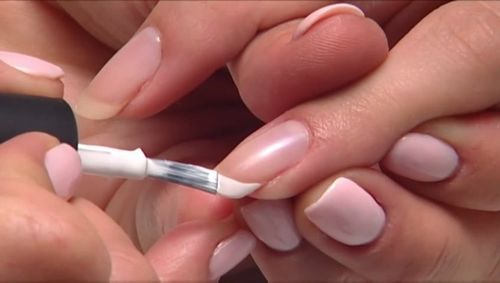
How to apply base coat
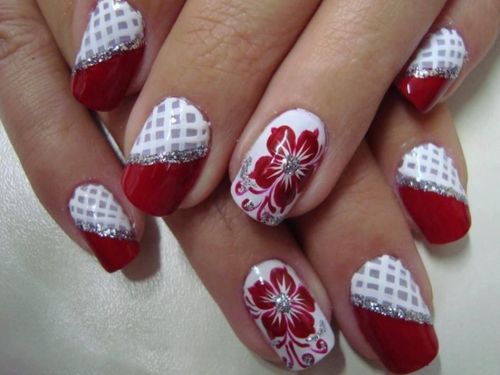
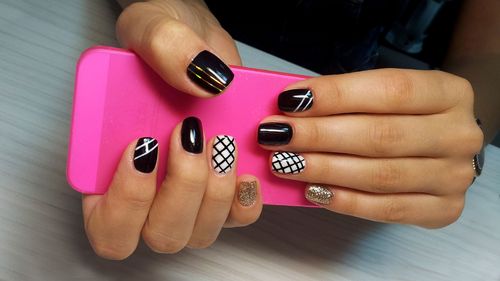
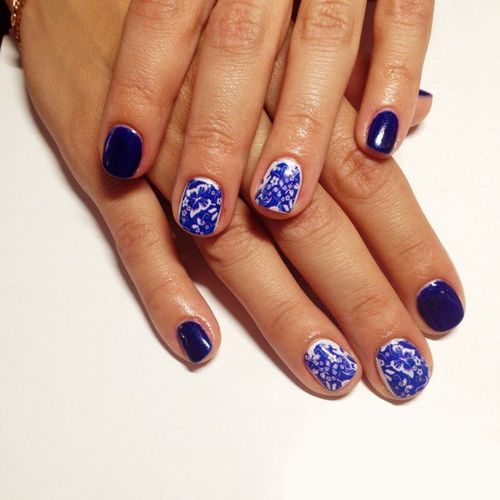
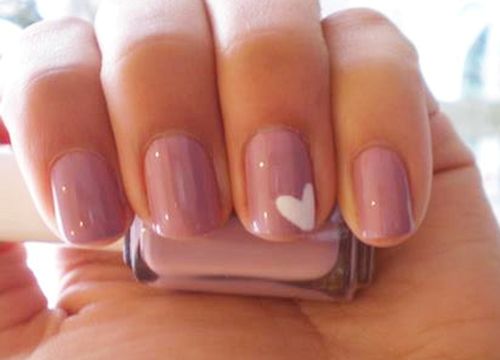
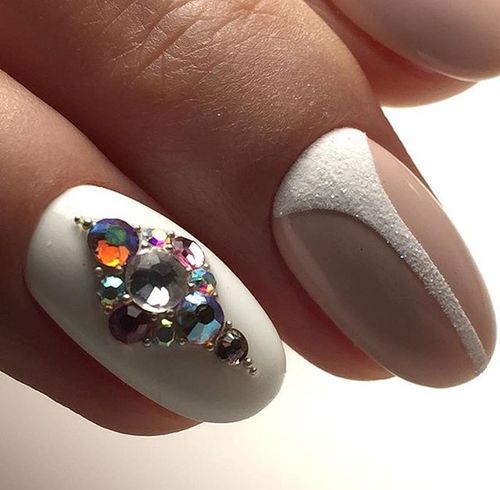
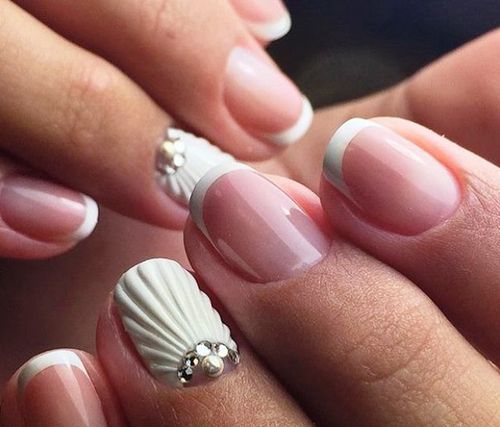
So, the nail plate is ready for coating. Novice craftsmen must now lay the coating on top in stages. How to paint with shellac, the video shows step by step. Also, to help the lessons for beginners, photos of interesting manicure ideas are offered. If beginners have a desire to diversify the design, you can purchase special “color + rhinestones” kits or stencils to create a luxurious shellac jacket.
Stages of work:
- We apply a base gel on the nails, drying for at least a minute under a UV lamp.
- Now you need to cover the base with colored gel, repeating the drying procedure. If the color intensity is insufficient, apply a colored layer again.
- We fix the result with a thick layer of top base, use sparkles or rhinestones, not forgetting about lamp drying.
- It remains only to eliminate the sticky layer with the help of lint-free products and admire the result of the first lessons.
little secrets
The authors who created shellac video tutorials for beginners visually demonstrate the manicure technique. Still, it does not hurt to get acquainted with the advice of experts on applying the gel.
Professional secrets:
- When applying the gel, use the "sealing" technology: first, one side edge of the nail is stained, then the other, and only then the gel is applied to the center of the nail plate. Beginners do not know that it is this technique that makes shellac long-lived. This is especially important when creating a French manicure.
- You only need to seal the first one - the base coat, but the color one, on the contrary, is categorically impossible - in this case it simply swells up during lamp drying.
- You need to prepare not only nails, but also a bottle of gel: roll it in your palms so that the pigment becomes uniform.
Shellac allows you to combine practicality and naturalness with elegance and beauty, shellac manicure lessons for beginners prove this step by step. Creating shellac at home, as the lessons show, is very simple. And the design will attract with luxury and craftsmanship, even if it was first performed by a novice fashionista.